There’s something undeniably comforting about a freshly baked loaf of sandwich bread-soft,pillowy,and just waiting to cradle your favorite fillings. But what if that everyday staple could get a deliciously tangy makeover? Enter sourdough sandwich bread: a delightful fusion of tradition and innovation that transforms the classic loaf into a flavor-packed hero of your lunchbox. With its signature tang, airy crumb, and golden crust, sourdough sandwich bread brings depth and character to each bite, turning ordinary sandwiches into unforgettable culinary experiences. In this article, we’ll explore the secrets behind baking this tangy twist on a classic, and why it might just become your new go-to bread.
Sourdough sandwich bread transforms the humble sandwich into a gourmet experience with its perfect interplay of tangy depth and tender crumb. inspired by customary European baking yet tailored for modern kitchen enthusiasts, crafting your own starter unlocks a world of flavors that elevate every bite. This journey is about nurturing wild yeast cultures to balance that iconic sour note while ensuring a soft crumb and a satisfyingly crisp crust – essentials for any memorable sandwich.
Prep and Cook Time
- Starter preparation: 7 days (active feeding)
- Final dough preparation: 4 hours (including bulk fermentation and proofing)
- Baking time: 30 minutes
Yield
1 loaf, roughly 12 slices (ideal for 6 hearty sandwiches)
Difficulty Level
Medium – Requires patience in starter maintenance and attention to fermentation timing
Ingredients
- For the Starter:
- 50g whole rye flour
- 50g unbleached all-purpose flour
- 100ml filtered water, lukewarm (about 25-28°C)
- For the Dough:
- 500g unbleached bread flour
- 350ml water, lukewarm
- 150g active sourdough starter (100% hydration)
- 10g fine sea salt
- 15ml olive oil (optional, for softer crust)
Instructions
- Create Your Starter: In a clean jar, mix the whole rye flour, all-purpose flour, and lukewarm water until homogeneous. Cover loosely with a breathable cloth.store in a warm spot (21-24°C) and feed daily by discarding half and replenishing with equal parts flour and water. Expect bubbling and aroma by day 5.
- activating Your Starter: Before making dough, feed your starter twice within 12 hours to ensure it’s bubbly and active-this guarantees optimal fermentation.
- Mix the Dough: In a large bowl, combine bread flour and water. Stir until just combined, creating a shaggy dough. Cover and autolyse for 1 hour to develop gluten naturally.
- Add Starter and Salt: Integrate your active sourdough starter and sea salt into the autolysed dough. Mix thoroughly by hand or with a dough hook until the salt is evenly incorporated, about 5 minutes.
- Bulk Fermentation and stretch & Folds: Let the dough rest at room temperature, performing gentle stretch and folds every 30 minutes for 2 hours (4 sets in total). This builds structure while maintaining tenderness.
- Shape the Loaf: Turn the dough onto a lightly floured surface. Gently shape into a tight cylinder fit for a loaf pan. Place into a greased 9×5-inch pan, smooth the top, and cover for final proofing.
- Final Proof: allow the dough to rise for 1-1.5 hours until it has grown noticeably but not doubled in size.
- Preheat and Score: Preheat your oven to 230°C (450°F) with a baking stone or steel inside.Just before baking, slash the top with a sharp blade for controlled oven spring.
- Bake with Steam: Place the loaf on the baking stone and introduce steam by adding hot water to a preheated cast iron pan or creating steam with a spray bottle.Bake for 20 minutes, then reduce heat to 200°C (400°F) and bake for an additional 10 minutes until golden brown and crisp.
- Cool Wholly: Remove from pan and cool on a wire rack. Cooling fully preserves your loaf’s soft crumb and enhances flavor development.
Tips for success
- Use filtered water to avoid chlorine, which can inhibit starter growth.
- Maintain a consistent feeding schedule for a lively starter – note that temperature fluctuations affect activity.
- The olive oil in the dough enhances softness but can be omitted for a more rustic crust.
- If your dough feels too sticky for shaping, lightly flour your hands and work surface-avoid over-flouring the dough itself.
- For even more pronounced tang, extend the bulk fermentation by 30-60 minutes but watch for over-proofing signs like deflation.
- Double the final proof time in the refrigerator overnight for deeper flavor complexity and easier slicing.
Serving Suggestions to Elevate Your Sourdough Sandwich Experience
Pair your freshly baked bread with robust fillings that balance its tangy profile. Think creamy avocado and smoky roasted bell peppers, or herbaceous grilled chicken with a whisper of Dijon mustard. For a vegetarian take, layer hummus, crisp cucumbers, and sun-dried tomatoes. Garnish sandwiches with a few sprigs of fresh arugula or basil for a peppery finish and visual vibrancy.
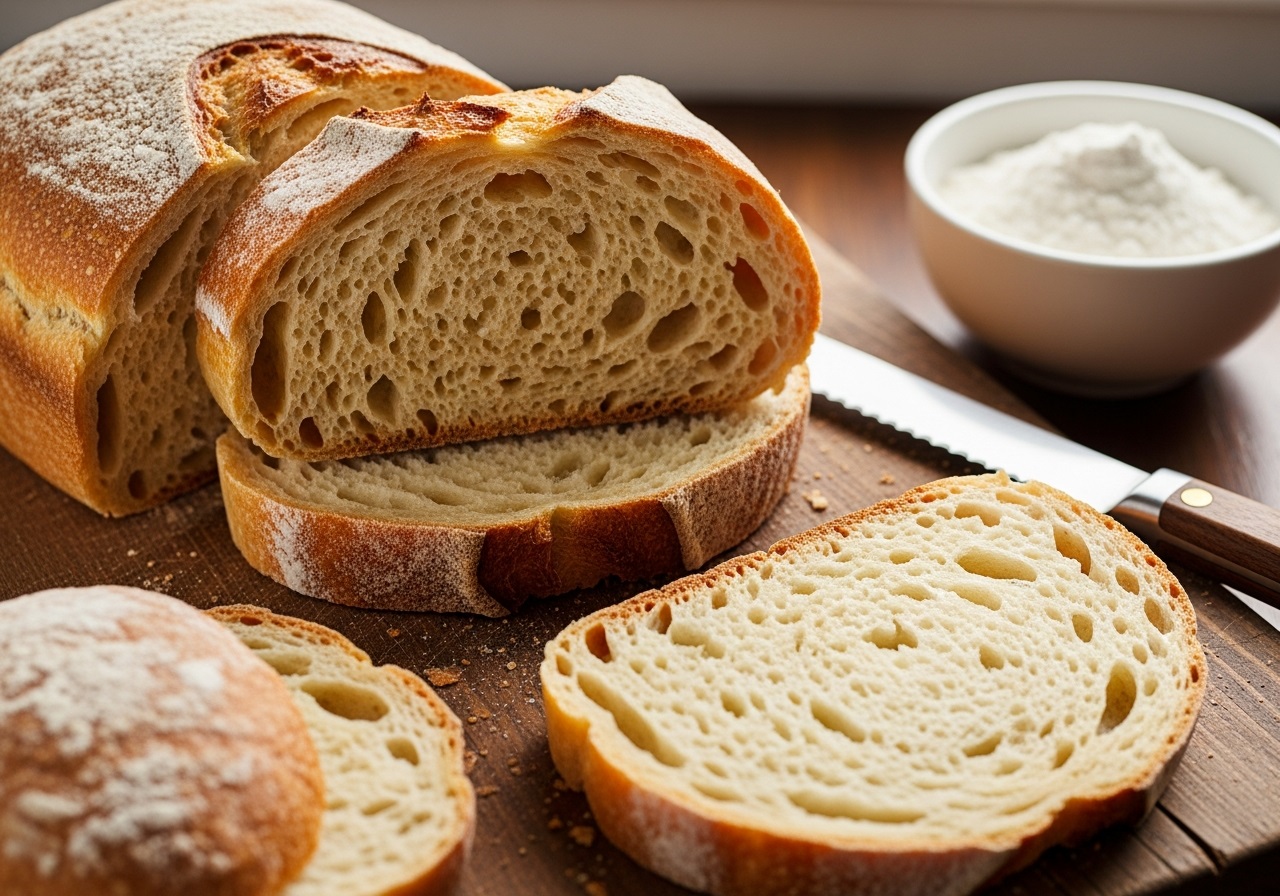
Toast slices lightly to amplify the crispy crust while keeping the crumb tender-and don’t forget a smear of high-quality butter or a drizzle of extra virgin olive oil.For a visually appealing presentation, slice the loaf to reveal its bubbly crumb structure and golden-brown crust, ideally caught in a sunlit kitchen for that perfect food photography shot.
| Nutrition | Per Slice (12 slices) |
|---|---|
| Calories | 150 |
| protein | 5g |
| Carbohydrates | 29g |
| Fat | 2g |
Explore more how-to guides on artisanal baking in our Complete sourdough Bread Guide. For scientific insight behind fermentation, visit ScienceDaily – The Art and Science of Sourdough.
Q&A
Q&A: Sourdough Sandwich Bread – Tangy Twist on a Classic loaf
Q1: What makes sourdough sandwich bread different from regular sandwich bread?
A1: The secret lies in the sourdough starter-a natural culture of wild yeast and beneficial bacteria.This starter imparts a distinctive tangy flavor and a chewier, more rustic texture. Unlike regular sandwich bread, which relies on commercial yeast, sourdough’s slow fermentation develops deeper flavors and a sturdier crumb that holds up beautifully to hearty fillings.
Q2: How does the tanginess of sourdough enhance the sandwich experience?
A2: The mild acidity balances rich, creamy, and savory fillings, cutting through heaviness and awakening the palate. This radiant note elevates simple ingredients like ripe tomatoes, fresh greens, or sharp cheeses, turning an everyday sandwich into a gourmet delight.Q3: Is sourdough sandwich bread difficult to make at home?
A3: Not at all! While it requires patience,the process is straightforward. You’ll need a well-fed starter, flour, water, salt, and time for fermentation. Each step rewards you with a loaf that boasts complex flavors and a satisfying crust. Plus, mastering sourdough is a fun and rewarding baking adventure.
Q4: What’s the best flour to use for making sourdough sandwich bread?
A4: A blend of bread flour and whole wheat flour works wonders. Bread flour provides strength and a good rise, while whole wheat adds nuttiness and depth. You can also experiment with spelt or rye to add character, but keep in mind each will influence the bread’s texture and flavor.
Q5: How should sourdough sandwich bread be stored to maintain freshness?
A5: Since it’s an artisanal loaf without preservatives, it’s best kept wrapped in a clean cloth or paper bag at room temperature for up to three days. For longer storage,slice and freeze it,then toast slices directly from the freezer-this way,you preserve the crust’s crunch and the tangy flavor.
Q6: Can sourdough sandwich bread be used in recipes beyond sandwiches?
A6: Absolutely! Its sturdy crumb and tangy profile make it ideal for French toast, grilled paninis, bread puddings, or even as a base for bruschetta. The versatile loaf brings zest and texture to a variety of dishes that call for hearty bread.
Q7: What tips help achieve the perfect sourdough sandwich loaf shape?
A7: Use a well-oiled, pullman loaf pan to encourage an even, square shape perfect for slicing. Practice gentle shaping techniques to create surface tension in the dough, helping it rise uniformly. Also, proofing in a draft-free, warm spot ensures consistent fermentation and a beautiful oven spring.
Q8: How can beginners handle the timing challenges of sourdough baking?
A8: Timing is flexible-embrace a slow, overnight bulk ferment in the fridge to develop flavor while accommodating your schedule. Watching the dough’s visual cues, like volume increase and surface texture, helps you know when it’s ready, making the process intuitive over time.
Q9: What kind of sandwich fillings pair best with sourdough’s tangy flavor?
A9: Think fresh and vibrant ingredients: creamy avocado and roasted vegetables,sharp cheddar with crisp apples,or tangy hummus paired with crunchy cucumber. Even classic combinations gain new life when stacked between slices of tangy, chewy sourdough bread.
Q10: Why is sourdough sandwich bread worth the extra effort?
A10: Beyond its delightful tang and texture, sourdough bread connects you to centuries-old baking traditions. It enriches everyday meals with flavor complexity, showcases the artistry of fermentation, and rewards your patience with each flavorful bite-a true twist on a timeless classic.
Key Takeaways
As you’ve discovered, sourdough sandwich bread isn’t just a vessel for your favorite fillings-it’s a flavorful journey that transforms a simple sandwich into something truly extraordinary.With its tangy crumb and satisfyingly chewy crust, this twist on the classic loaf invites you to explore new textures and tastes right from your own kitchen. Whether you’re a seasoned sourdough baker or a curious newbie, embracing this loaf adds depth and character to your everyday meals. So next time you reach for bread, consider the vibrant personality of sourdough sandwich bread-it’s more than just bread; it’s the delicious intersection of tradition and taste.