There’s something wonderfully satisfying about whipping up a batch of creamy, dreamy homemade hummus-especially when the secret ingredient is as simple as a can of chickpeas. Far from the realm of complex culinary rituals, this beloved Middle Eastern staple transforms effortlessly in your blender, turning everyday pantry staples into a velvety spread that’s as versatile as it is delicious. Whether you’re a seasoned foodie or a kitchen novice, mastering this quick and easy recipe will have you spooning silky hummus onto crackers, sandwiches, and veggies in no time, all while celebrating the humble canned chickpea’s hidden potential. Let’s dive into the art of crafting perfect homemade hummus that’s fresh, flavorful, and utterly irresistible.
Choosing the Perfect Canned Chickpeas for Smooth and Flavorful hummus
Whip Up Creamy Homemade Hummus Using Canned Chickpeas starts with knowing exactly what to look for in your chickpeas. Not all canned chickpeas are created equal-selecting the right can makes an immense difference in texture and taste. Opt for chickpeas packed in water, not brine or seasoned liquids, as this allows you full control over saltiness and seasoning. Look for brands with fewer additives and ensure the chickpeas are plump, tender, and free from mushiness or excessive breakage. When you drain them, reserve a bit of that starchy liquid; it’s a secret ingredient that can unlock remarkable creaminess in your blend.
Mastering the Blend Texture: Achieving Creaminess with Simple Kitchen Tools
Creating ultra-smooth hummus is surprisingly achievable with just a food processor or even a high-powered blender. Begin by pulsing your canned chickpeas with fresh garlic, tahini, and lemon juice; adding the reserved chickpea water gradually helps break down the beans into a luscious, velvety consistency. For a silky smooth result, peel some of the chickpeas by gently squeezing them-you’ll be rewarded with amazing softness that standard blends cannot replicate. If you don’t have a food processor,a sturdy immersion blender also works wonders when combined with a bit more patience and added moisture.
Elevate Your hummus with Fresh Ingredients and Bold Flavor Twists
once you’ve nailed the creamy base, elevate the flavor with vibrant, fresh ingredients. A drizzle of extra virgin olive oil adds richness and depth, while a pinch of ground cumin or smoked paprika introduces an alluring warmth. For brightness, freshly squeezed lemon juice awakens the palate, and a sprinkle of chopped parsley, toasted pine nuts, or sumac on top offers a stunning visual and textural contrast. Feel adventurous? Blend in roasted red peppers, caramelized onions, or even jalapeño for a bold, personalized touch that transforms traditional hummus into a gourmet delight.
Storage Tips to Keep Your Homemade Hummus Fresh and delightful
proper storage preserves the vibrancy and creamy texture of your homemade hummus. Transfer it to an airtight container and refrigerate instantly.To prevent drying out or developing a crust,smooth the surface and pour a thin layer of olive oil on top before sealing. Homemade hummus typically stays fresh for up to five days, but always check for signs of fermentation or sourness before serving. For longer storage, freeze in small portions; thaw gently overnight in the refrigerator and stir well before enjoying it again. This ensures you always have deliciously creamy hummus ready to elevate any snack or meal.
Prep and Cook Time
- Planning: 10 minutes
- Cooking: 0 minutes (no cooking required)
- Total Time: 10 minutes
Yield
Approximately 2 cups (serves 4-6)
Difficulty Level
Easy
Ingredients
- 1 can (15 oz) canned chickpeas, drained, reserve liquid
- 1/4 cup tahini
- 2 tablespoons fresh lemon juice
- 2 garlic cloves, minced
- 2 tablespoons extra virgin olive oil, plus extra for garnish
- 1/2 teaspoon kosher salt
- 1/2 teaspoon ground cumin (optional)
- 2-4 tablespoons reserved chickpea liquid or water
Instructions
- Drain the canned chickpeas, reserving 2-4 tablespoons of the liquid. For creamier hummus, peel a few chickpeas by gently pinching off the skins and set aside.
- In a food processor, combine the tahini and lemon juice. Process for 1 minute until whipped and creamy.
- Add the minced garlic, olive oil, salt, and cumin (if using). Process again for 30 seconds to incorporate.
- Blend in the drained chickpeas (including peeled ones), pulsing until thick and roughly mixed.
- Slowly add the reserved chickpea liquid or water, one tablespoon at a time, while blending continuously. Scrape down the sides as needed. Continue until the hummus reaches your preferred smoothness and creaminess.
- Adjust seasoning by tasting and adding more salt, lemon juice, or garlic to taste.
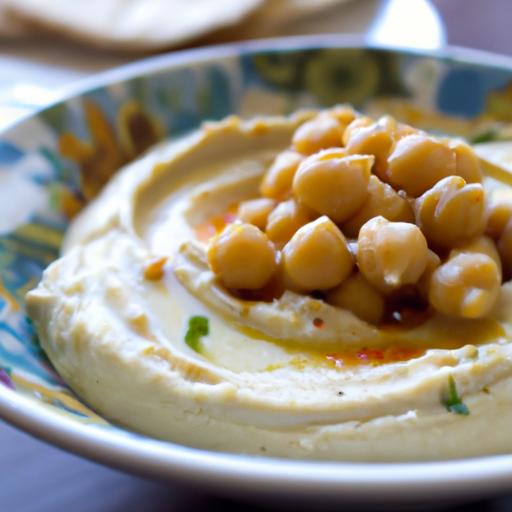
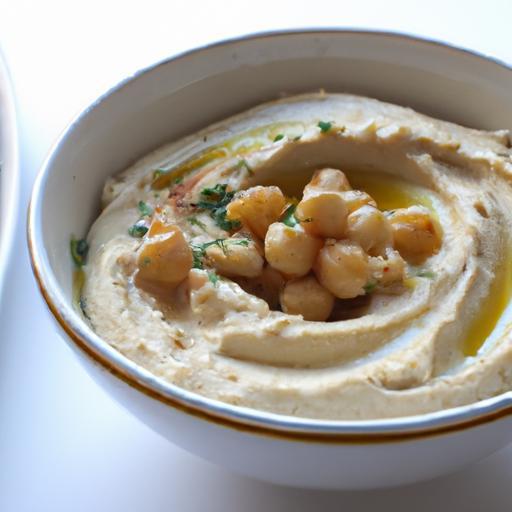
- Transfer hummus to a serving bowl, drizzle with olive oil, and add your favorite toppings like paprika, fresh parsley, or toasted pine nuts.
Chef’s Notes
- Peeling chickpeas is a simple step that makes your hummus exceptionally smooth but can be skipped if short on time.
- Adjust the creaminess by controlling how much reserved liquid you add-less for chunky, more for silky texture.
- To intensify garlic flavor, roast the cloves before blending for a milder, sweeter taste.
- Make-ahead tip: Hummus flavors deepen after resting 12 hours, so prepare it a day ahead for enhanced taste.
- Try swapping lemon juice with fresh lime juice for a zesty twist.
Serving Suggestions
Spread your hummus on warm pita, serve as a dip for crunchy vegetables, or dollop over grain bowls and salads. Garnishing with a vibrant sprinkle of freshly chopped parsley, a dusting of smoked paprika, or a handful of toasted sesame seeds creates an inviting plate. Pair with kalamata olives and sun-dried tomatoes for a Mediterranean-inspired spread sure to impress at any gathering.

| Nutrient | Per 1/4 cup Serving |
|---|---|
| Calories | 120 |
| Protein | 5g |
| Carbohydrates | 15g |
| Fat | 6g |
For further inspiration on blends and spreads, check out our Mediterranean Dips Collection. To explore the health benefits of chickpeas and legumes, visit the Harvard T.H. Chan School of Public Health.
Q&A
Q&A: Whip Up creamy Homemade Hummus Using Canned Chickpeas
Q1: Why use canned chickpeas instead of dried ones when making hummus?
A1: Canned chickpeas are a fantastic shortcut for homemade hummus. They’re already cooked and soft, which saves hours of soaking and boiling.Plus, their creamy texture makes blending easier, resulting in that irresistibly smooth dip we all crave.
Q2: How do I get my hummus extra creamy using canned chickpeas?
A2: Three key tricks: First,peel the skins off each chickpea for an ultra-silky finish-this step is optional but transformative! Second,add ice-cold water gradually while blending to loosen the mixture and enhance creaminess. Lastly, don’t skimp on good-quality tahini; its rich, nutty character rounds out the texture beautifully.
Q3: Can I adjust the flavor of my hummus easily?
A3: Absolutely! Start with the classic trio-lemon juice,garlic,and tahini-but don’t be afraid to experiment. Add a pinch of smoked paprika for warmth, a handful of fresh herbs like parsley or cilantro for brightness, or a dash of cumin for earthiness. The beauty of homemade hummus is that it’s your canvas!
Q4: How long does homemade hummus last in the fridge?
A4: Stored in an airtight container, your creamy creation will stay fresh for about 4 to 5 days. The flavors often deepen with time, so feel free to make it a day ahead for an even tastier dip.
Q5: What’s the best way to serve homemade hummus?
A5: Serve it as a vibrant dip with crunchy veggie sticks,warm pita bread,or crispy crackers. You can also dollop it on salads, toast, or grain bowls for a boost of creamy flavor and protein-packed goodness.
Q6: Is it necessary to rinse canned chickpeas before making hummus?
A6: Yes! Rinsing takes away excess sodium and the slightly metallic can taste, allowing the natural earthy flavor of chickpeas to shine. Drain well before blending for the best results.
Q7: Can I make hummus without tahini?
A7: While tahini is traditional and adds that luscious nutty depth, you can make a tahini-free hummus by swapping in ingredients like smooth peanut butter or sunflower seed butter. Keep in mind it’ll slightly change the classic flavor and texture, but it’s a fun twist for allergy-friendly versions!
Q8: How do I prevent homemade hummus from tasting bitter?
A8: bitterness often comes from over-blended tahini or to much lemon juice. Use fresh lemon juice sparingly and blend tahini just until smooth but not overheated. Also, a small pinch of baking soda added when cooking chickpeas (if using dried) helps neutralize bitterness-but with canned chickpeas, rinsing well usually does the trick.
Q9: Can I freeze homemade hummus?
A9: Yes! Hummus freezes well for up to 3 months. Freeze in small portions to thaw easily. When ready, stir it well to reincorporate any separated liquid. it’s perfect for busy weeks when you want a quick, creamy snack.
Q10: What kitchen tools make the best hummus?
A10: A food processor is ideal for that ultra-smooth texture, but a high-powered blender can work magic too. If you don’t have either, a sturdy immersion blender combined with some elbow grease will still get you delicious results.
Whipping up creamy homemade hummus from canned chickpeas is as simple as it is satisfying. With these tips and tricks, you’re just a blend away from the perfect dip to brighten any meal or snack!
Key Takeaways
With just a few simple steps and pantry staples like canned chickpeas, creating a luscious, creamy batch of homemade hummus is within everyone’s reach. This versatile dip not only elevates your snack game but also brings a nourishing, Mediterranean touch to any meal. So next time hunger strikes, ditch the store-bought tubs and whip up your own smooth, flavorful hummus-where convenience meets culinary delight in every delicious scoop.