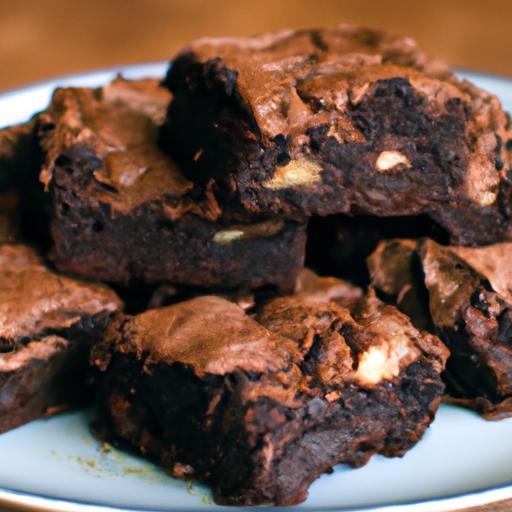
There’s a certain magic in simplicity-especially when it comes to desserts that satisfy your sweet tooth without demanding hours in the kitchen. Enter the no-bake chocolate oat cookie: a delightful blend of rich cocoa, hearty oats, and just the right touch of sweetness, coming together in minutes with zero heat.Whether you’re a seasoned baker or a kitchen newbie, this recipe proves that indulgence doesn’t have to be complicated. Join us as we explore the sweet simplicity of these irresistible treats, perfect for a swift snack, an after-dinner delight, or whenever you crave a little chocolatey comfort without the fuss.
Sweet Simplicity: No-Bake Chocolate Oat Cookies offer an effortless indulgence that blends comfort and convenience in every bite. These delightful treats bring together the rich, velvety allure of chocolate and the wholesome texture of oats, creating a harmony of flavors that no oven can replicate. Born from classic home-kitchen ingenuity, they’re perfect for those moments when you crave something sweet yet uncomplicated.
Prep and Cook Time
Planning: 10 minutes
Chilling: 30 minutes
total Time: 40 minutes
Yield
Makes approximately 16 cookies,perfect for sharing or keeping as your personal stash of sweet simplicity.
Difficulty Level
Easy - no baking required, ideal for beginners or anyone seeking a quick chocolaty fix.
Ingredients that Make sweet Simplicity Shine
- 1/2 cup unsalted butter, cut into cubes
- 2 cups granulated sugar
- 1/2 cup whole milk
- 1/4 cup unsweetened cocoa powder, sifted
- 1/2 cup creamy peanut butter (or natural for extra richness)
- 3 cups old-fashioned rolled oats
- 1 teaspoon pure vanilla extract
- pinch of fine sea salt
Step-by-Step Guide to Perfect No-Bake Chocolate Oat Cookies
- Prepare your workspace: Line a baking sheet or tray with parchment paper or a silicone mat to prevent sticking.
- Combine butter, sugar, milk, and cocoa: In a medium saucepan over medium heat, melt the butter. Stir in the sugar, milk, and cocoa powder.Bring to a gentle boil, stirring constantly to ensure the sugar dissolves fully. allow boiling for exactly 1 minute,then promptly remove from heat to avoid grainy texture.
- Incorporate peanut butter and vanilla: Quickly stir in the peanut butter, vanilla extract, and salt until the mixture is silky smooth and glossy.
- Add the oats: Gradually fold in the rolled oats, making sure each flake is lovingly coated in chocolate.
- Form your cookies: Using a tablespoon or small ice cream scoop, drop spoonfuls of the mixture onto the prepared sheet. Lightly flatten if you prefer a traditional cookie shape.
- let chill: Refrigerate the cookies at least 30 minutes or until fully set.
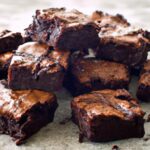
- Serve and enjoy: onc firm, your cookies are ready to delight. Transfer to a serving plate and marvel at the glossy sheen and rustic oat texture.
Tips for Customizing Flavors and Textures
- Nut variations: Swap peanut butter for almond or cashew butter to introduce a different nutty character.
- Sweetness Control: Use honey or maple syrup in place of sugar, adjusting the amount to maintain binding consistency-this creates a naturally sweet subtlety.
- Texture Enhancers: Toss in a handful of shredded coconut, chopped walnuts, or dark chocolate chips for bursts of surprise in each bite.
- Flavor Boosts: Sprinkle a pinch of cinnamon or a dash of espresso powder to deepen the chocolate’s complexity.
- Vegan Adaptation: Replace butter with coconut oil and opt for plant-based milk to keep everything dairy-free without sacrificing richness.
Storing and Serving Suggestions for Maximum Freshness
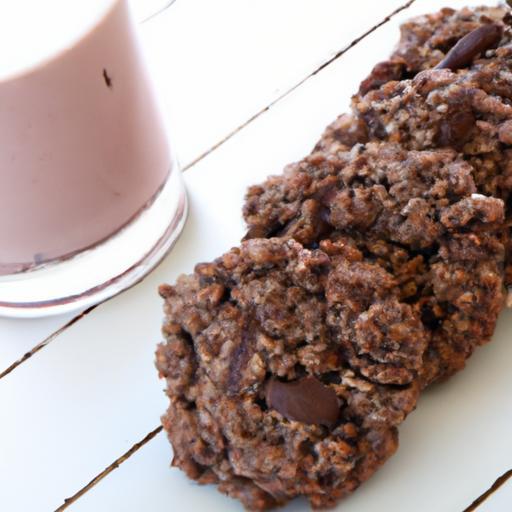
To keep your no-bake chocolate oat cookies fresh and chewy, store them in an airtight container at room temperature for up to 3 days. For longer preservation, refrigerate for up to a week or freeze them wrapped individually for up to 3 months. When serving, pair these cookies with a cold glass of milk, a warm cup of herbal tea, or even a scoop of vanilla ice cream for an effortlessly elegant dessert.
Garnish ideas include a light dusting of powdered sugar, a sprinkle of flaky sea salt to highlight the chocolate’s richness, or a drizzle of melted white chocolate for a professional finish.
| Nutrient | Per Cookie |
|---|---|
| Calories | 180 kcal |
| Protein | 4 g |
| Carbohydrates | 23 g |
| Fat | 9 g |

For more delightful no-bake treats, check out our collection of easy no-bake desserts. To deepen your understanding of the science behind no-bake recipes and their binding techniques, the Serious Eats guide is highly recommended.
Q&A
Q&A: Sweet simplicity - No-Bake Chocolate Oat Cookies Recipe
Q1: What makes no-bake chocolate oat cookies a great treat for busy days?
A1: No-bake chocolate oat cookies are a lifesaver when you need something sweet and satisfying without spending time in the oven.They come together quickly, require minimal ingredients, and are perfect for when you wont a homemade snack in a flash. Plus, their chewy texture and rich chocolate flavor hit the comfort food spot effortlessly.
Q2: What are the key ingredients for no-bake chocolate oat cookies?
A2: The magic trio includes rolled oats, cocoa powder, and a combination of butter and sugar to bind and sweeten. Often, milk and vanilla extract join the mix for smoothness and flavor depth. These simple pantry staples create a wholesome, fudgy cookie that’s both nostalgic and nourishing.
Q3: Can I customize these cookies to fit different dietary needs?
A3: Absolutely! Swap regular butter for coconut oil or a dairy-free spread to keep them vegan. Use maple syrup or agave nectar in place of granulated sugar for a natural sweetness. Gluten-free oats also make these treats kind for gluten sensitivities.The no-bake method is flexible and open to your creative pantry twists.
Q4: How do I ensure my no-bake cookies set properly?
A4: Temperature is key! After mixing, refrigerate the cookies for at least 30 minutes to allow them to firm up and hold their shape. If your kitchen is warm, a slightly longer chill time helps prevent them from being overly sticky. patience here transforms sticky mounds into perfectly set cookies.
Q5: What’s the best way to store no-bake chocolate oat cookies?
A5: Store these cookies in an airtight container in the refrigerator to keep them fresh and chewy for up to a week. For longer storage, freezing works beautifully-just thaw them at room temperature before enjoying. Their texture stays delightful, making them an easy grab-and-go snack any time.Q6: Can kids help make these cookies?
A6: Definitely! This recipe is kid-friendly because it involves mixing and scooping rather than handling hot ovens or stovetops. Its a perfect activity for little hands to practice measuring and stirring, plus the reward is a sweet treat everyone can share.Q7: Are no-bake chocolate oat cookies nutritious?
A7: While these cookies are a sweet indulgence, their oat content adds a hearty dose of fiber and whole grains.They offer a bit more substance than typical sugary snacks, making them a satisfying option that balances taste and a hint of wholesome goodness.
Q8: What’s the secret to achieving the perfect chewy texture?
A8: The balance of ingredients is crucial-too much liquid and they get mushy; too little and they become crumbly. Gently heating the butter and sugar mix until smooth before combining with oats helps the ingredients meld perfectly. Cooling them thoroughly is the final secret to that chewy, melt-in-your-mouth consistency.
Q9: Can I add extras like nuts or dried fruit?
A9: Yes! Chopped nuts,shredded coconut,or dried cherries add delightful texture and bursts of flavor. Just fold them in during the final mixing stage to keep the cookie structure intact. These add-ins make each batch uniquely yours.
Q10: Why are no-bake cookies so nostalgic for many?
A10: No-bake cookies frequently enough evoke memories of childhood kitchens and simple moments of joy. Their fast preparation and rich chocolatey taste make them a timeless comfort food that connects generations-and with this recipe, new memories are just a scoop away!
To Wrap it Up
As you savor these no-bake chocolate oat cookies, let their sweet simplicity remind you that delicious treats don’t always require elaborate steps or fancy ingredients. Whether you’re pressed for time or just craving a comforting bite, this recipe proves that sometimes, the best pleasures come together effortlessly. So keep these easy-to-make goodies in your repertoire-they’re perfect for busy days, spontaneous gatherings, or whenever you need a little chocolatey cheer without the heat of the oven. Happy snacking!